[Guest post by Mary E. Fissell, Professor in the Department of the History of Medicine, Johns Hopkins University]
In 2023, I was delighted to be awarded a Teaching Innovation Grant (TIG) from the Center for Teaching Excellence and Innovation (CTEI) to incorporate digital humanities (DH) into my teaching in an upper-level undergraduate seminar. Although the seminar — Health and Healing in Early Modern England (140.382) — is dear to my heart, I had not had the opportunity to teach it for decades. Literally. The last time I taught it, in the 1990s, we didn’t have any digital resources — the primary source readings were photocopies from microfilms!
Specifically, I wanted to make it possible for undergrads to use Reading Early Medicine (REM) a DH project I’d been working on with a colleague in London, Dr. Elaine Leong. Now hosted at Hopkins (https://readingearlymedicine.org/), thanks to the Sheridan Libraries, REM is a bibliographic database of early-modern English medical books, with a range of additional resources to introduce students and researchers to the wealth that is pre-modern medicine. Leong and I had added a lot of additional information, such as genres and topics for each book, to help beginners find primary sources. But the site’s potential would be enhanced by enabling students to see the data in new ways. 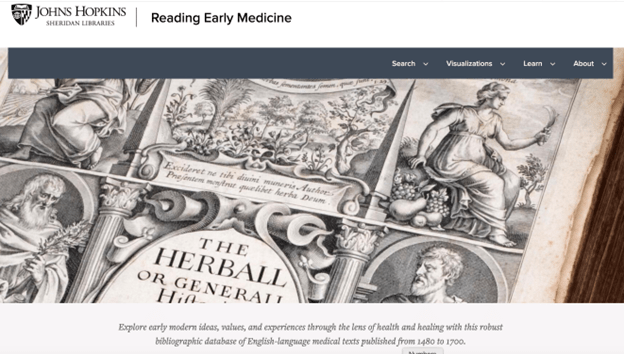
With TIG funding, I was able to hire a data scientist who built graphical interfaces for the project in consultation with students in the course, and a history research assistant (RA) who worked on getting the data prepared for the graphics. Users of the site can now use word clouds and timelines to visualize genres and topics of books published. We also developed a mapping function to plot where books were actually produced and sold in early-modern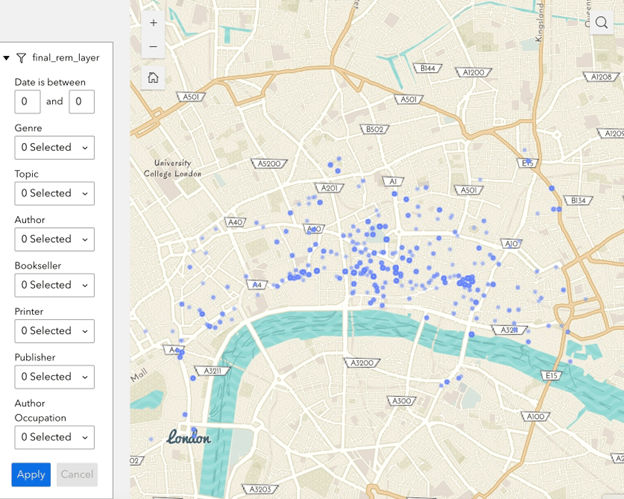 London. The visualizations enable users at all levels to see patterns they would not otherwise perceive.
For example, you can now map the sites where medical books were produced in London — most books’ imprints include addresses for printers, publishers, and booksellers, and about a third of authors also listed where they worked. Clicking on a topic reveals the number of books published on that topic in that date range.
In the classroom, word clouds can prompt lively discussion. Our RA built word clouds of genres and topics that can be re-configured by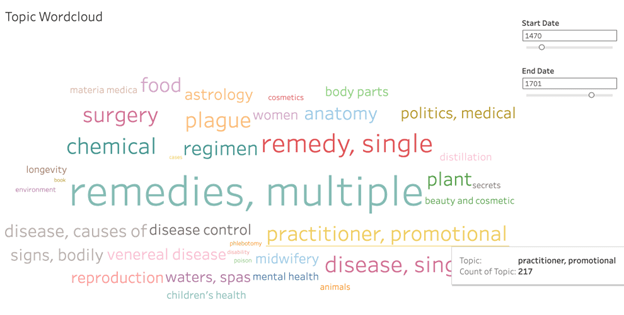 date of publication, enabling students to see how some topics or genres became more prominent — or less so — over time. Clicking on a word indicates how many books were published on that topic in that date range — as you can see, practitioners quickly appreciated the promotional power of print, and often used their publishing as thinly-veiled advertising for their services.
REM became crucial to the course for a wholly unexpected reason. The British Library was cyber-hacked in Fall 2023, which meant that an essential resource, the English Short Title Catalog, was unavailable. REM came to the rescue, in the sense that students used it to help contextualize “their” books, researching authors, publishers, printers, and booksellers.
The re-vamped course thus introduced students to the digital humanities as well as to early-modern medicine. Detailed classroom conversations with our data scientist were focused on what kinds of things they would like to “see” about these books. Such discussions helped students to see that visualizations are things that are created and involve strategic choices; data doesn’t just display itself!
The TIG funding improved my teaching by making me think about how different history and pedagogy is for this born-digital generation, compared to myself. It foregrounded how I had to keep translating what you might call paper-and-pencil skills into the digital age, and how important it is to teach this generation to be critical readers of websites as well as written texts. Pairing digital humanities with hands-on interpretation of texts and work with rare books seemed much more effective for this generation than when I formerly taught the course without a DH component.
The DH components of the course also showed me student competencies that I might have otherwise missed. I was delighted when one day one of undergrads who struggled with writing spontaneously pulled up a map on REM and showed her classmates a particular point she wished to make; it turned out that she had done work with GIS. Clearly for her the digital component helped her to understand course material in a new way when seventeenth-century prose proved daunting.
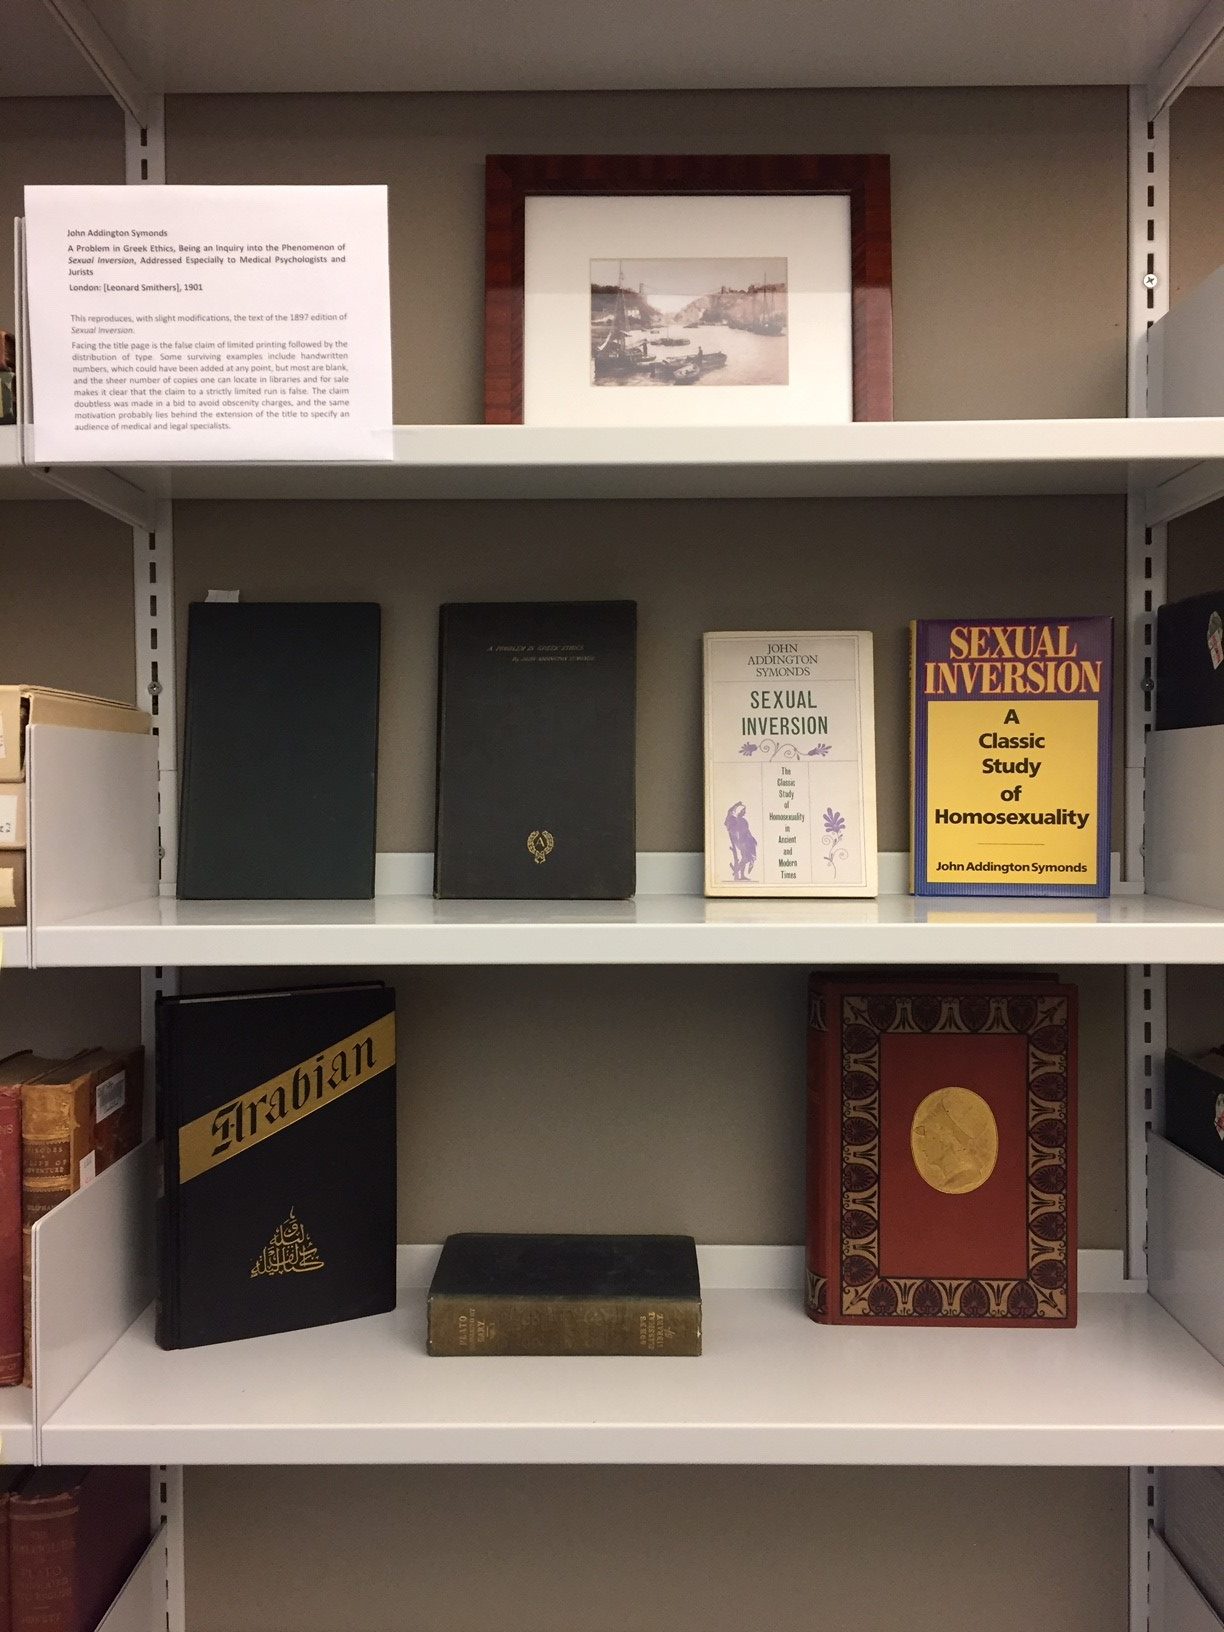
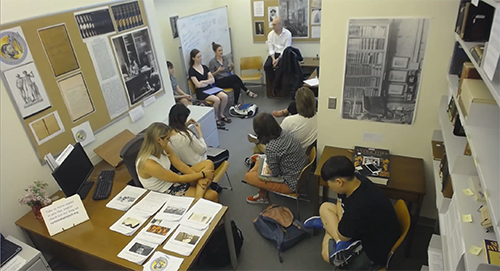
Just because we emphasized the digital didn’t mean that we ignored what are called material texts — actual old books. Students researched a rare book held in the Hopkins collection and used REM to contextualize “their” book, including understanding where in London it was written, printed, and sold, with the help of the visualization tools.
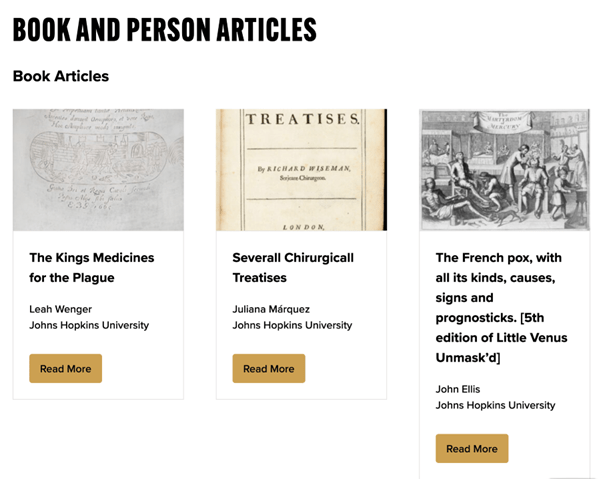 To complete the analog-digital circuit, students wrote biographies of “their” books and authors, and if they were good enough, students were invited to submit them to REM, fully credited, so that the next generation of students will be able to draw upon their work.
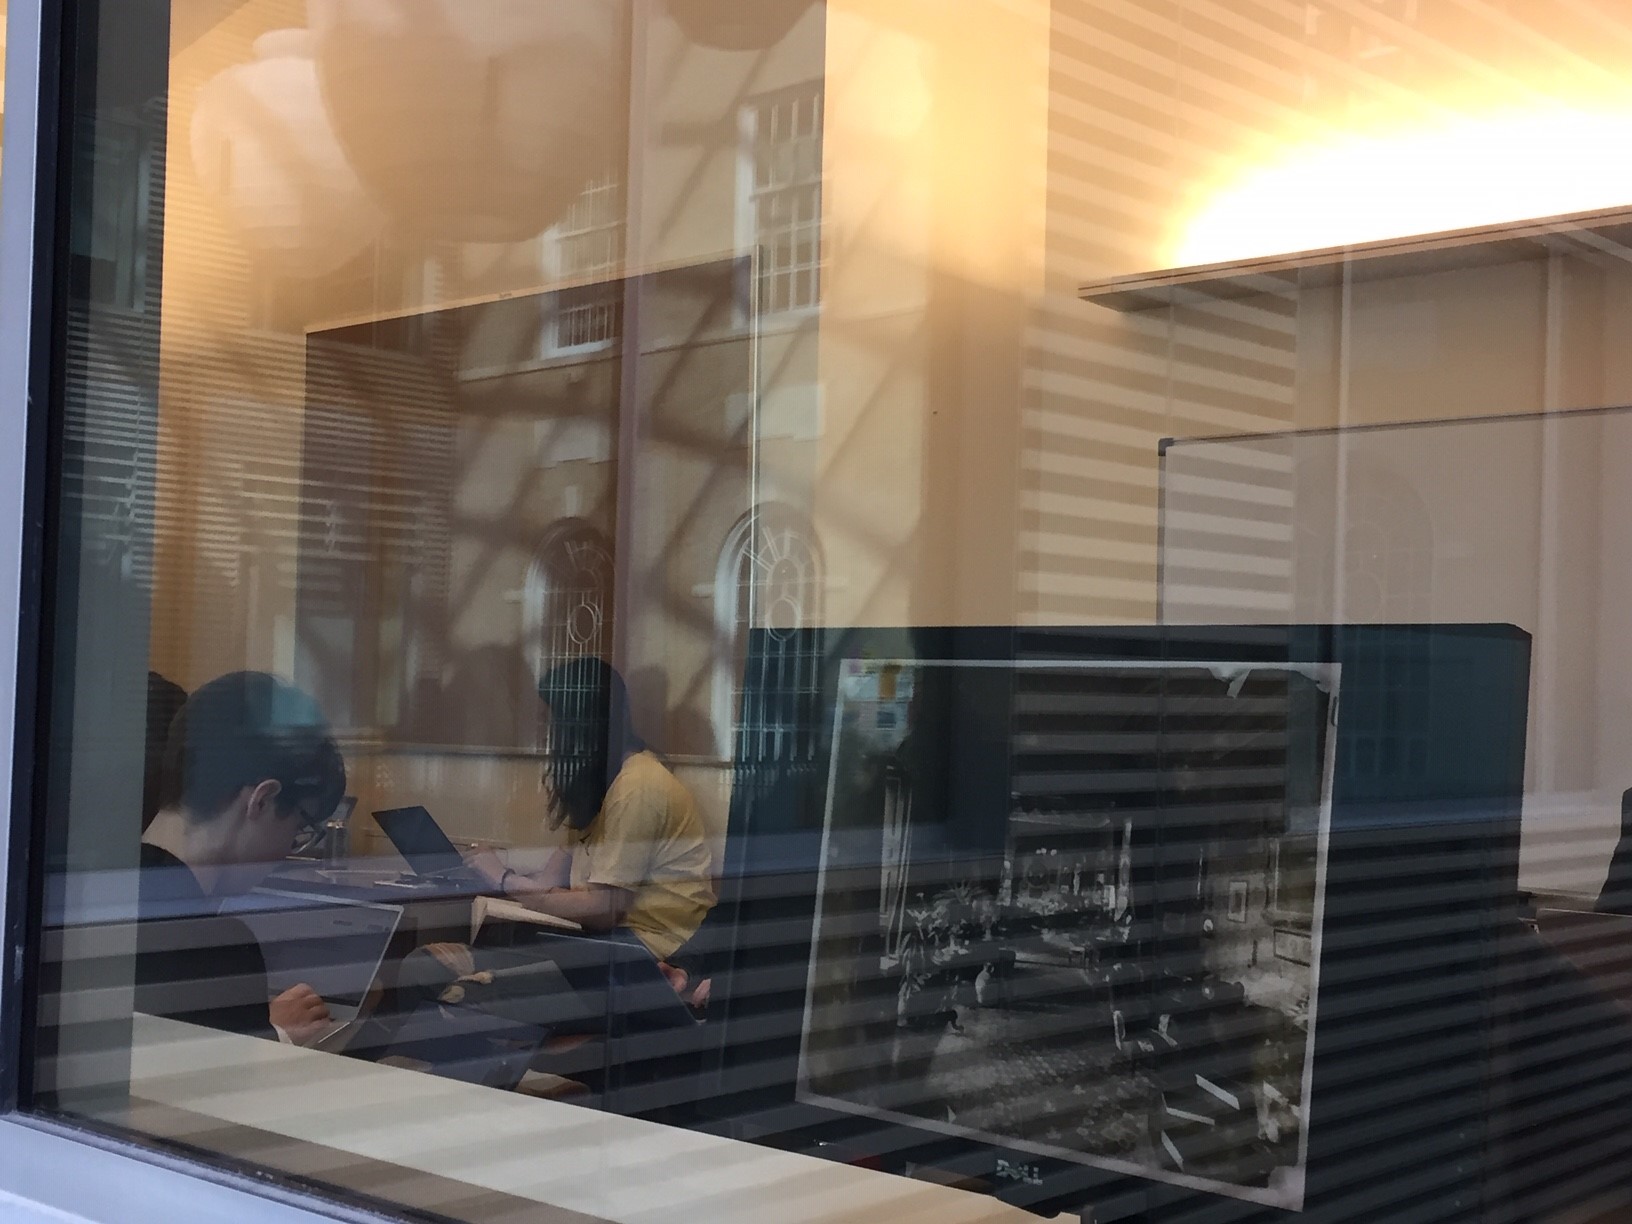
Pairing the digital with rare-book-room reading proved very productive. It is always a joy to me so see students light up when they get to work with “real” rare books. Such books had the same effect on me when I was an undergrad! Students come to have a sense of ownership of “their” book and can take off in unexpected directions as they become book detectives. 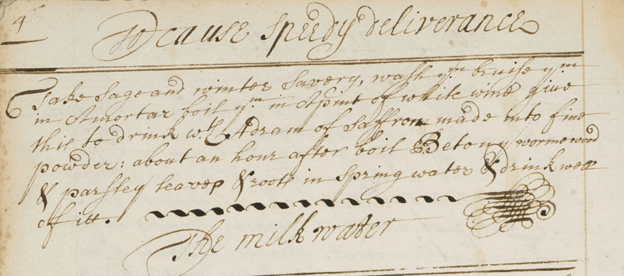
Digital resources can also help students gain “analog” competencies. I taught them to read a challenging text out loud, as often sounding out a word can also help them decipher it. 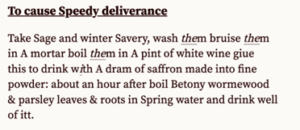 But digitized and transcribed sources enabled me to take this kind of skills training to a new level. For example, transcribed online manuscript recipe books helped students learn to read seventeenth-century handwriting, as they toggle between handwriting and text. Like the practice of reading aloud, students quickly get to the a-ha moments of being able to read centuries-old writing.
It was as if the circuit between the digital and the analog energized the class. Actually touching really old books is still a thrill, which makes this historian happy, but increasingly sophisticated digital resources are helping students find and read sources and frame questions as never before.
Mary E. Fissell
Professor, History of Medicine
Johns Hopkins University
Mary E. Fissell is the Inaugural J. Mario Molina Professor of the History of Medicine in the Department of the History of Medicine at the Johns Hopkins University, where she also holds appointments in the Departments of History and History of Science and Technology. Her scholarly work focuses on how ordinary people in early modern England understood health, healing, and the natural world. Prof. Fissell teaches a range of courses, including undergraduate and graduate surveys in the history of medicine, the history of science, technology, and medicine methods seminar, and a graduate research seminar on popular knowledge.
Image source: Mary E. Fissell