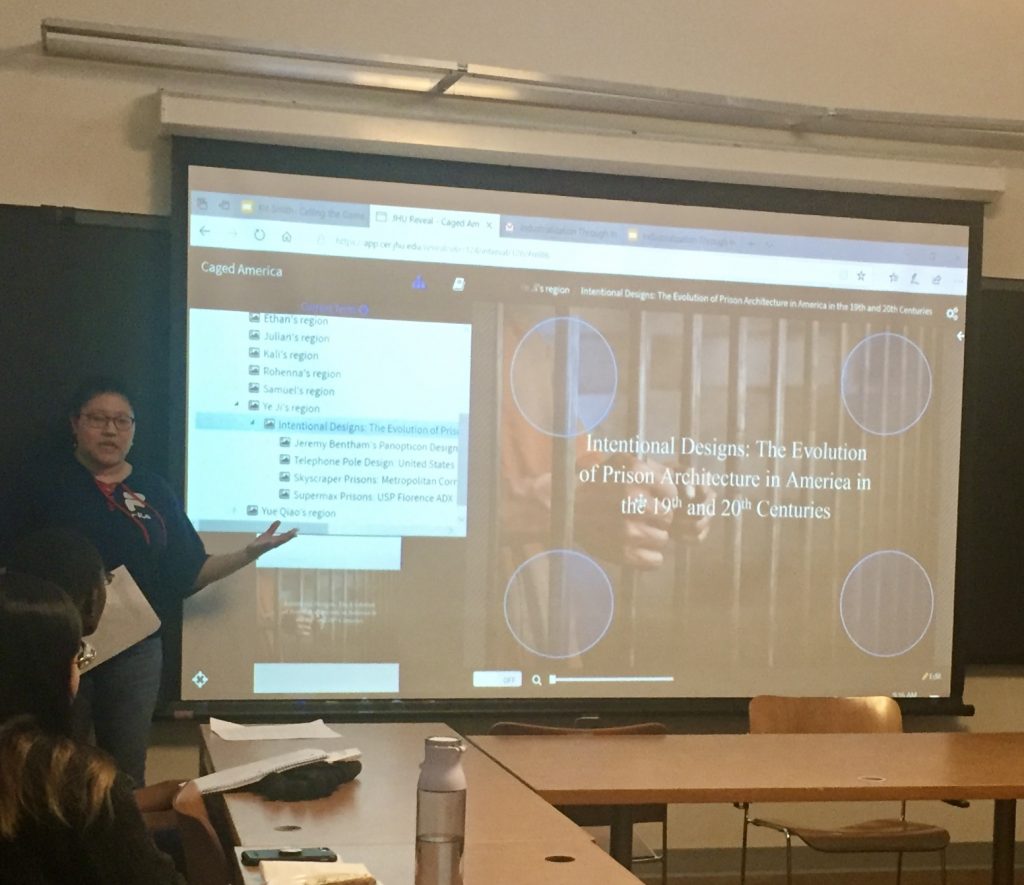
 On Tuesday, October 3rd, the Center for Teaching Excellence and Innovation (CTEI) hosted its first Lunch and Learn of the academic year, a panel discussion titled, “Generative AI: Teaching Uses, Learning Curves, and Classroom Guidelines.” The three panelists included Jun Fang, Assistant Director of the Instructional Design and Technology Team in the Carey Business School, Carly Schnitzler, KSAS instructor in the University Writing Program, and Sean Tackett, Associate Professor in the School of Medicine. The discussion was moderated by Caroline Egan, project manager in the CTEI. Mike Reese, director of the CTEI, also helped to facilitate the event.
The panelists began by introducing themselves and then describing their experiences with generative AI. Jun Fang loves new technology and has been experimenting with AI since its inception. He noticed the faculty that he works with generally fall into two categories when it comes to using AI: some are quite concerned about students using it to cheat and are not ready to use it, while others see a great deal of potential and are very excited to use it in the classroom. In speaking with colleagues from across the institution, Fang quickly realized these are common sentiments expressed by faculty in all JHU divisions. This motivated him to lead an effort to create a set of AI guidelines specifically geared toward faculty. The document contains a number of strategies for using AI including: designing engaging course activities, providing feedback for students on their assignments, and redesigning course assessments. The section on redesigning course assessments uses two approaches: the “avoidance approach,” which involves deliberately designing assessments without AI, and the “activation approach,” which intentionally integrates AI tools into the curriculum. The document includes specific examples of many of the strategies mentioned as well as links to widely used generative AI tools.
Fang described a recent scenario in which a faculty member was concerned that students were using ChatGPT to generate answers to online discussion board questions. To mitigate this situation, Fang suggested the faculty member revise the questions so that they were tied to a specific reading or perhaps to a topic generated in one of his online synchronous class sessions. Another suggestion was to have students submit two answers for each question – one original answer and one generated by ChatGPT – and then have the students compare the two answers. The faculty member was not comfortable with either of these suggestions and ended up making the discussion more of a synchronous activity, rather than asynchronous. Fang acknowledged that everyone has a different comfort level with using AI and that one approach is not necessarily better than another.
Carly Schnitzler currently teaches two introductory writing courses to undergraduates and is very open to using generative AI in her classroom. At the start of the semester, she asked students to fill out an intake survey which included questions about previous writing experiences and any technologies used, including generative AI. She found that students were reluctant to admit that they had used these technologies, such as ChatGPT, for anything other than ‘novelty’ purposes because they associated these tools with cheating. After seeing the results of the survey, Schnitzler thought it would be beneficial for students to explore the potential use of generative AI in class. She asked students to do an assignment where they had to create standards of conduct in a first year writing class, which included discussing their expectations of the course, the instructor, their peers, and how AI would fit in among these expectations. The class came up with three standards:
- AI tools should support (and not distract from) the goals of the class, such as critical thinking, analytical skills, developing a personal voice, etc.
- AI tools can be used for certain parts of the writing process, such as brainstorming, revising, or editing, but students must disclose that AI tools were used.
- If there appears to be an over-use or over-reliance on AI tools, a discussion will take place to address the situation rather than disciplinary action. (Schnitzler wants students to feel safe exploring the tools without fear of repercussion.)
This assignment comes from an open collection of cross-disciplinary assignments that use text generation technologies, mostly in a writing context. TextGenEd: Teaching with Text Generation Technologies, co-edited by Schnitzler, consists of freely accessible assignments submitted by scholars from across the nation. Assignments are divided into categories, such as AI literacy, rhetorical engagements, professional writing, creative explorations, and ethical considerations. Most are designed so that the technologies used are explored by students and instructors together, requiring very little ‘expert’ technological skills. Schnitzler noted that there is a call for new submissions twice each year and encouraged instructors to consider submitting their own assignments that use text generation AI.
Sean Tackett was initially fearful of ChatGPT when it was released last year. Reading article after article stating how generative AI was going to “take over” pushed him to learn as much as he could about this new technology. He began experimenting with it and initially did not find it easy to use or even necessarily useful in his work with medical school faculty. However, he and some colleagues recognized potential in these tools and ended up applying for and receiving a JHU DELTA grant to find ways they could apply generative AI to faculty development in the medical school. Tackett described how they are experimenting with generative AI in a curriculum development course that he  teaches to the med school faculty. For example, one of the tasks is for faculty to learn to write learning objectives, so they’ve been developing prompts that can be used to specifically critique learning objectives. Another example is developing prompts to critique writing. Most of Tackett’s students are medical professionals who do not have a lot of time to learn new technologies, so his team is continually trying to refine prompts in these systems to make them as useful and efficient as possible. Despite being so busy, Tackett noted the faculty are generally enthusiastic about having the opportunity to use these tools.
The discussion continued with a question and answer session with audience members:
Q: How do we transfer and integrate this knowledge with teaching assistants who help manage the larger sized classes? What about grading?
ST: I would advocate for the potential of AI to replace a TA in terms of grading, but not in terms of a TA having a meaningful dialogue with a student.
JF: Generative AI tools can be used to provide valuable feedback on assessments. There are a lot of tools out there to help make grading easier for your TAs, but AI can be used for the feedback piece.
Q: How might professors provide guidelines to students to use generative AI to help them study better for difficult and complex topics?
MR: One possibility is to generate quiz questions – and then have students follow up by checking the work of these quizzes that have been generated.
CS: Using a ChatGPT or other text generation tool as a reading comprehension aid is something that has been useful for non-native English speakers. For example, adding a paragraph from an academic article into ChatGPT and asking what this means in plain language can be helpful.
CE: This gets to what I call ‘prompt literacy,’ which is designing better prompts to give you better answers. There is a very good series about this on Youtube from the University of Pennsylvania.
Sean, what have you experienced with prompting right now, in terms of challenges and opportunities?
ST: We’re trying to put together advice on how to better prompt the system to get more refined and accurate answers. After a few iterations of prompting the system, we refine the prompt and put it into a template for our faculty, leaving a few ‘blanks’ for them to fill in with their specific variables. The faculty are experts in their subject areas, so they can tell if the output is accurate or not. We’re in the process of collecting their output, to put together best practices about what works, what does not work.
CE: What would you all like to see in terms of guidelines and best practices for AI on a web page geared towards using AI in the classroom?
Guest: And along those lines, how to we move forward with assigning research projects, knowing that these tools are available for students?
ST: I think it could be useful for students to learn research skills. They could use the tools to research something, then critique the results and explain how they verified those results. It can also be useful for generating ideas and brainstorming. Another thought is that there are a number of domain specific generative AI databases, such as Open Evidence which is useful in the medical field.
CS: To Sean’s point, I think a comparative approach is useful with these tools. The tools are very good at pattern matching genre conventions, so doing comparative work within a genre could be useful.
JF: I think ChatGPT and other generative AI tools can be useful for different parts of the research process, such as brainstorming, structure, and editing. But not for something like providing or validating evidence.
Q: As a grad student, I’m wondering how the presence of AI might force us to refine the types of questions and evaluations that we give our students. Are there ways to engineer our own questions so that the shift of the question is changed to avoid the problem [of having to refine and update the question] in the first place?
CS: There is an assignment in our collection that talks about bringing an assignment from past to present. Again, thinking in terms of a comparative approach, ask ChatGPT the question, and then ask your students the same question and see how they compare, if there are any patterns. I think it can be helpful to think of ChatGPT as adding another voice to the room.
JF: We have a section in the guidelines on how to redesign assessment to cope with generative AI related issues. We suggest two approaches: the avoidance approach and the activation approach. The avoidance approach is for faculty who are not yet comfortable using this technology and want to avoid having students use it. One example of this approach is for faculty to rework their assignments to focus on a higher level of learning, such as creativity or analysis, which will hopefully reduce or eliminate the opportunity for students to use AI tools. The activation approach encourages faculty to proactively integrate AI tools into the assessment process. One example of this approach I mentioned earlier is when I suggested to a faculty member to rework their discussion board questions to allow students to submit two versions of the answers, one created by them and the other by ChatGPT, and then analyze the results.
Q: What is the ultimate goal of education? We may have different goals for different schools. Also, AI may bridge people from different social backgrounds. In China, where I grew up, the ability to read or write strongly depends on the social status of the family you come from. So there is some discomfort using it in the classroom.
CS: I feel some discomfort also, and that’s what led to the development of the guidelines in my classroom. I posed a similar question to my students: if we have these tools that can allegedly write for us, what is the point of taking a writing class? They responded by saying things like, “writing helps to develop critical thinking and analytical skills,” to which I added, “being here is an investment in yourself as a student, a scholar, and a thinker.” I think asking students to articulate the value of the education that they want to get is really helpful in determining guidelines for AI.
ST: Going to school and getting an education is an investment of your time. You pay now so you can be paid later. But it’s not as transactional as that. AI is already in the work environment and will become more prevalent. If we’re not preparing students to succeed in the work environment, we are doing them a disservice. We teach students to apply generative AI in their classes so they are prepared to use it in the workforce.
JF: In the business school, everything is market driven. I think education can fit into that framework as well. We’re trying to provide graduates with the confidence they need to finish the work and meet the market’s need. We know that generative AI tools have really changed the world and they’re starting to emerge in every part of our life. We need to train students to realize that ChatGPT might be part of their education, part of life in the future, and part of the work in the future as well. There are things AI can help us do, but there are still fundamentals that students need to learn. One example is calculators: we still need to learn from the beginning that 1 + 1 = 2.
CE: This question also reminded me of asking your students, what is the ultimate purpose of a research paper? Where do they think ChatGPT should fit into the research process?
Q: I work at the library and we’re getting lots of questions about how to detect if students are using AI. And also, how do you determine if students are relying too heavily on AI?
JF: We also get this question from our faculty. The most used detection tool right now is Turnitin, which is embedded in Canvas. But the level of accuracy is not reliable. We encourage faculty to always validate before accepting the results. For faculty who are actively using AI in the classroom, we also encourage them to provide clear guidance and expectations to students on how they are allowed to use it. This may make it a little easier to determine if they are using it correctly or not.
MR: There are some other tools out there, such a GPTZero, ZeroGPT, but to Jun’s point, the difficult thing is that it’s different than plagiarism detection which says this is copied, and here’s the source. These tools say there’s a probability that part of this was taken, but you can’t point to a direct source. It’s up to instructors whether or not to use these tools, but consider using them to facilitate a conversation with students. In my own classes if I suspect academic misconduct, I usually start by asking them to explain, talk to me about what is happening before I make accusations. With these tools, there tends to be no hard evidence, just probabilities that something may have happened. This is definitely an area we’re all still learning about.
Guest: I was just thinking that having a conversation with students about why they are turning to the tool in the first place might prevent misconduct. Instead of sending them to an academic misconduct committee, we could have these conversations, like Carly mentioned. Making students aware of the limitations of the tool could also be helpful.
CS: Yes, I say that in our guidelines that I’m prioritizing conferences with students over immediate disciplinary action. I try to pre-empt anxiety students might feel around using these tools. Designing your assignments in a way that reduces anxiety is also helpful. For example, I tend to design assignments that build on one another throughout the semester in smaller bits, rather than one giant chunk all at once.
Q: Is there any discussion around combining AI with teaching, such as generating personalized explanations of a topic? Students will have different levels of expertise and comfort with different topics.
ST: We’re trying to do this, to create a teaching aid for the future. We’re planning to use it to create assessment items.
Amy Brusini, Senior Instructional Designer
Center for Teaching Excellence and Innovation
Image Source: Pixabay, Unsplash

